Blog

7 Money-Saving Tips From Your Heinsight Solutions Team

When it comes to home improvement, nothing is free. Over the years, we have worked closely with homeowners to develop a system that helps save us time and helps them save some extra money during the project. Here is a list of money-saving recommendations from our team to your family!

  • Save up! – It can be tempting throw money at a project whenever extra funds are available, but we encourage you to throw the money into savings instead, and wait until you can cover the whole project. This can help cut down on additional labor fees for travel costs, setup and teardown time, and product acquisition. Additionally, saving up can ensure that any financial emergencies that come up do not derail the entire project. Finally, completing the project all at once means you will not have to dig through several different warranties, if an issue were to arise in the future.
  • Replace – Don’t Repair – Generally, repairing older products can appear to be the cheaper route. In the event that replacement parts are available, a repair option can look like a sweet deal! However, if your products are already out of warranty, replacement is usually the best long term solution.
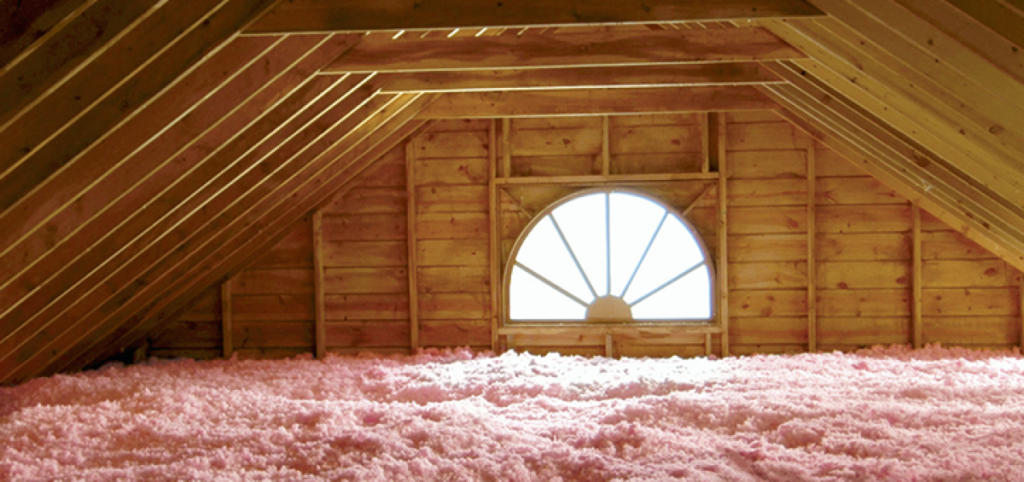
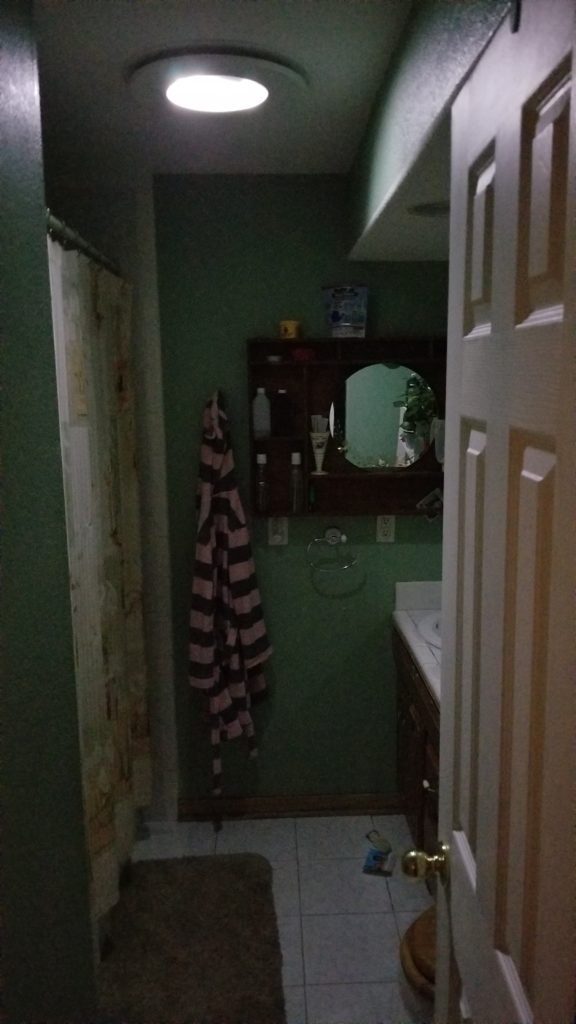
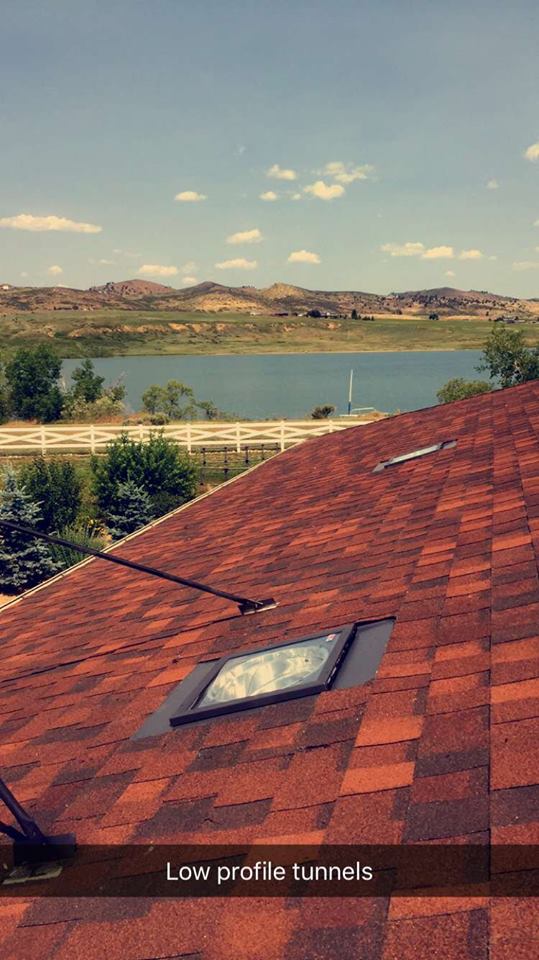
  • Buy in bulk – If you are considering a project which has multiples of the same product (skylights or Sun Tunnels, for example), discounts may be available to have them all installed at the same time. Contractors may offer discounts for multiple units, or even lower the labor costs slightly, since the equipment only needs to be set up once.
  • Refer a friend – Once you have worked with a contractor that you like, it is always a good idea to keep their contact information on hand, in case you need work from them in the future. However, you can take this one step further by recommending a contractor to a family member or friend. Helping local businesses expand their community can do more than just generate good karma! Often, businesses will offer discounts on future work in exchange for referrals. Plus, your friends will thank you for sending them to a contractor that you trust!
  • Co-create your estimates – Most contractors will do an estimate, prior to work being done. If you can keep your contractor informed on expectations you may have, it will help to eliminate surprises once the estimate arrives. For example, if you have a budget range in mind, a discount you would like to request, or if you have materials on site that could be used to complete the project, make sure to inform the contractor up front! This can save time, and ensure that no unnecessary materials or charges are included on your estimate.
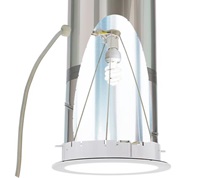
  • Buy from reputable brands – Getting a used product, or a cheaper brand may make you feel like you saved money. However, cheaper products can require additional maintenance and upkeep, and are more likely to need repairs sooner. Buying a high quality product that is a bit more expensive can save you the hassle and expense of future repairs. In addition, these products tend to come with better warranties, which means that if an issue develops in the future, it may already be covered
  • Ask about incentives – Many home improvement projects come with rebates, incentives or credits that you can get after installation is complete. For example, from now until the end of 2019, all solar products qualify your project for a 30% federal tax credit. While we do our best to mention this to every customer, it doesn’t hurt to do your homework prior to starting your project to make sure you are getting your money’s worth!


4 Things to remember before adding insulation

The Winter is upon us! So, if you’re anything like me, you may be noticing more cold spots in your home, especially when you’re on the upper level. This could mean that your attic is poorly insulated, which may mean that it’s time to get some insulation installed! Little known fact: Heinsight Solutions has all the tools and material necessary to insulate a standard sized attic. But what are a few things to remember, as you embark on your insulation adventure?

  1. All insulation is not created equal – depending on your needs and the space you are trying to fill, there are different kinds of insulation that may best suit your needs
    1. Batts – These are thick insulation rolls that are intended to fit between standard framing
    2. Rolls – These are ideal for spaces where a longer section of insulation may be more beneficial
    3. Loose fill/Blown in – Ideal for hard to reach areas or where a small layer of insulation may already exist **Heinsight’s preferred method**
  2. Make sure to be aware of any requirements that need to be met
    1. R-Value – This is how resistant your insulation is to heat induction. A typical R-value is between 38 and 60
    2. Distance between insulation and roof line  – Make sure there is enough space between the topmost layer of insulation and the roof line. A clear sign that there is not enough space is discoloration in the existing insulation, which implies that water from condensation got trapped and could not evaporate.
  3. What to expect from installation
    1. Colorado Winters can be brutal or incredibly mild from day to day. This means that when you embark on this project, you should plan your clothing accordingly. There’s nothing worse than being stuck in a hot attic in a heavy coat!
    2. While simple to do, insulation installation can be time consuming and cumbersome. Make sure that you have a tall enough ladder to safely access your attic, and that you are able to get up and down the ladder for many trips.
    3. Buddy system – while it isn’t impossible to do insulation by oneself, the process is much simpler with a friend!
  4. As always, know your community
    1. Make sure your local hardware store has all the equipment you may need to proceed with insulation installation before scheduling a day to start.
    2. If you run into any issues with insulation, have a contractor you trust who can walk you through basic solutions (We volunteer as tribute)!

If you are thinking of installing insulation in your attic, mention this article for 5% off of your order! All estimates are free, and we will only charge for the materials we use!

Best of 2018 Installations

2018 has been a phenomenal year! We wanted to take a moment to share some of our favorite installations from this year, with hopes that next year will be even better! Feel free to share your own photos on our Facebook page, and tell us what your favorite part of 2018 was!

January 2018, Fort Collins

6 skylights were installed on this roof, and were showing signs of breakdown due to age…. continue reading »

5 Tips for Dealing with Storm Damage

Skylights, Sun Tunnels, and Storms


As we move into the Summer months, storm damage from hail, wind, and heavy rain can become a major concern. While new VELUX skylights and Sun Tunnels are built to stand up to many types of severe weather, older skylights, from any brand, are not always so resilient. If you experience a break or a leak in your skylight, the project can feel daunting from the beginning. Here are a few tips to make sure you are in good hands while dealing with storm damage.


Stay Calm – If you notice a leak in your skylight or Sun Tunnel during a storm, your first instinct may be to rush onto the roof and get it covered. In the middle of a storm, this can be dangerous and could even provoke further leak issues. Instead, take a deep breath, place a bucket under the area where the leak is most prominent, and check on it periodically to see if it needs to be emptied. It may be helpful to research a few local contractors while you wait out the storm, so you know who to call when you are ready to have someone assess the damage.


Shop local – When a big storm moves in, often storm chasers come with it. While working with a nomadic business does not necessarily mean the work will be low quality, it does mean that the contractor will be more difficult to get ahold of if future issues occur. Working with a local business ensures that warranties will be honored, and you will have access to the business for follow ups, service calls, and future work. VELUX offers an installer locator, which can help you find a local contractor that is backed by the VELUX guarantee. Remember to always check reviews, and ask around for recommendations!


Get multiple estimates –  While a sense of urgency is to be expected, going with the first estimate you get may mean you do not have all of the information to move forward. This is especially true if your estimate does not come from a skylight specialist. Even though finding a reputable contractor can take some time, it is well worth the wait, to ensure that your skylights are replaced by someone who knows what they are doing, and will keep you in the loop on the project. One person you shouldn’t forget to call is your insurance agent. Often, storm damage is covered under your homeowner’s insurance policy. This could mean the difference between paying out of pocket, and having all of the repairs covered!

Coordinate roof damage – Generally, a storm that breaks through your skylight will also cause significant damage to your roof. Since the most cost-efficient time to replace your skylights is during re-roof, coordinating these two projects can save you money and offer coinciding warranties. Often, a roofing contractor will contact a local skylight company, and set up the installation themselves, which can save you the trouble of coordinating both jobs. Informing your roofer that you would like both projects completed at the same time will ensure that the skylights are not skipped over.


Be proactive – When you choose a contractor to work with, they can help you put a plan in place to make sure that you are prepared to deal with the next storm that moves in. If you are in an area that is prone to golf-ball sized hail, consider adding impact glass to your skylights or Sun Tunnels. If you are concerned about future leaks, ask about the VELUX no-leak guarantee. Equipping your skylights for the next storm will leave you feel peaceful and prepared.


5 Ways to Customize Your Sun Tunnels

Upgrade to a custom diffuser –  The diffuser and trim ring are all you see on the interior of the home, so if you do not like the standard frosted option, consider this: VELUX offers 5 different diffuser upgrades, including wavy lines, bubbles, and prisms, to help satisfy the style in every home! The best part is, you can swap these diffusers out at any time to change up the room a bit!

Warm up the light – While natural daylight offers many health benefits, the cool white light may change the atmosphere in your home, or bother your eyes. It may help to have an amber photo-gel laid over the diffuser, which can turn the cool white light into something closer to the light you see during the sunset. Because the gel is not glued down, it can be removed at any time, or switched to a different color at different times of the year!

Install a solar night light – Think of the rooms in your home that have a night light plugged in; The kitchen, bathrooms, hallways and stairwells. Whatever the reasons, there are many rooms in the home that you’d like to navigate without waking up the whole house. The solar night light sits in the tubing, collects solar energy during the day, and turns on once it is dark out to help light the way without using electricity. The best part? When the solar night light is installed in the Sun Tunnel, the whole project qualifies for a 30% federal tax credit!

Use the Sun Tunnel at night – While Sun Tunnels completely transform the room during the day, they can only bring in so much light from the moon. Adding a light kit to your Sun Tunnel means you can keep the light output going during evening hours. Once the light kit is hooked up to power, the light bulb turns on with the flick of a switch, just like a regular overhead light fixture! The super reflective tubing will even amplify the light coming out of the bulb, so one light will generally do the trick for the whole room.

Go with the flat glass – Whether you are going for a sleek look, or trying to stay inside HOA restrictions, the flat glass may be a great fit for you. Especially in a Southern exposure, the flat glass Sun Tunnel brings in the same amount of light, without the appearance of bubbles on your roof.